
Deploy COS for robotics server in the cloud
Warning
Beta Notice: COS for robotics is currently in beta.
Content and features may change,
and some functionality may be incomplete or experimental.
Feedback is welcome as we continue to improve.
Introduction
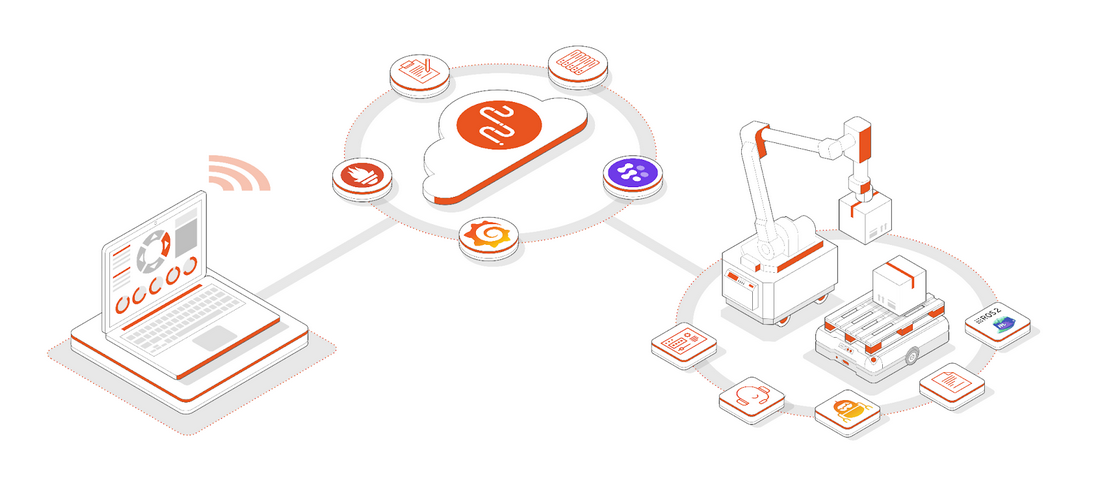
In this tutorial, we will walk through the process of deploying the Canonical Observability Stack (COS) for robotics on a cloud-based server. By the end of this tutorial, you will have a fully functional observability stack tailored for robotics, enabling you to monitor ROS devices efficiently.
COS for robotics is a lightweight,
highly integrated observability stack designed to run on Kubernetes,
offering a plug and play observability solution tailored for
monitoring robotics devices.
The server infrastructure integrates robotics-specific applications with
the ones provided by COS-lite.
Moreover, it is designed with customization in mind.
It offers the flexibility to add new applications in the form of charms or
Open Container Initiative (OCI) images and enhance existing ones.
Note
The server side is designed for the Edge and capable of running alongside MicroK8s
and Juju with limited computing resources (around 8 GB of memory).
On the server side, COS for robotics runs a suite of observability tools that collect and process data from connected devices. On the device side, lightweight agents (packaged as Snaps) simplify device registration and enable real-time monitoring. This allows you to connect each robot in your fleet to the observability stack and immediately start collecting insights.
Each robot in your fleet can be set up with the snap agents, registered and observed, allowing for efficient management across an entire fleet.
What you will learn
By following this tutorial, you will:
Deploy COS for robotics on a cloud-based Kubernetes environment using Juju and
MicroK8s.Register a ROS 2 device with the server.
Begin monitoring robotic devices using Prometheus, Grafana, Loki, and Foxglove Studio.
Understand how COS for robotics can be customized with additional applications and integrations.
Server side
The COS for robotics is a Juju-based observability stack running on Kubernetes. It includes the following key components:
Foxglove Studio– A visualization tool for robotics data.COS-registration-server– Manages device registration.Prometheus– Collects and stores metrics.Loki– Handles logging for robotics devices.Alert Manager– Manages alerts and notifications.Blackbox exporter– Blackbox probing of endpoints.Grafana– Provides dashboards for visualization.
These components are at core of the stack and can be enhanced with additional functionalities and applications.
In the next section, we will go step by step through the deployment process.
Install prerequisites
Important
To follow this tutorial, you will need a machine or a VM with at least 8 GB of memory, 4 CPUs and 50 GB of storage. A container won’t be sufficient.
Let’s proceed with the installation.
1. Install MicroK8s
Install the microk8s snap with:
sudo snap install microk8s --channel 1.35-strict
Add the user to the microk8s group for unprivileged access and
give use permission to read the ~/.kube director:
sudo adduser $USER snap_microk8s
sudo chown -f -R $USER ~/.kube
Wait for microk8s to finish initializing with:
sudo microk8s status --wait-ready
Enable the storage and dns addons which are required for the Juju controller:
sudo microk8s enable hostpath-storage dns
Finally, ensure your new group membership is apparent in the current terminal (not required once you have logged out and back in again):
newgrp snap_microk8s
2. Install Juju
Install the Juju snap with:
sudo snap install juju --channel 3.6/stable
Since the Juju package is strictly confined, you also need to manually create a path:
mkdir -p ~/.local/share
Now bootstrap a Juju controller into your MicroK8s
juju bootstrap microk8s cos-robotics-controller
If successful the terminal will show the following message:
Bootstrap complete, controller "cos-robotics-controller" is now available in namespace "controller-cos-robotics-controller"
3. Configure and enable Metallb
The bundle comes with Traefik to provide ingress,
for which the metallb add-on must be enabled.
Metallb provides load balancer functionality and
requires the source IP address of the host system for outbound connections.
Run the following command to retrieve the IP address:
sudo apt update && sudo apt install -y jq
IPADDR=$(ip -4 -j route get 2.2.2.2 | jq -r '.[] | .prefsrc')
Then, enable metallb with the following command:
sudo microk8s enable metallb:$IPADDR-$IPADDR
Deploy the COS for robotics bundle
The stack deployment relies on the infrastructure as code (IAC) tool Terraform. It allows to easily set up complex infrastructure from a YAML based recipe, allowing for simplicity, re-usability & repeatability among (many) other things.
You can install Terraform from the Store with:
sudo snap install terraform --classic
First, let us retrieve the Terraform plan:
git clone --branch track/0 https://github.com/canonical/rob-cos-overlay.git
cd rob-cos-overlay/terraform/rob-cos
Then we have to initialize the project:
terraform init
In order to deploy COS for robotics, we create a dedicated model with the following:
juju add-model cos-robotics-model
juju switch cos-robotics-model
Finally, deploy it with:
terraform apply -var="model=cos-robotics-model"
When prompted, type “yes” to confirm. Now you can sit back and watch the deployment take place:
juju status --watch 5s --color --relations
COS will be ready to use when the juju status shows
all the machines active and the agents idle as follow:

Now COS for robotics is good to go: you can register devices to it to begin the monitoring!
Verify the deployment
When all the charms are deployed,
you can head over to browse their built-in web user interfaces.
You can find out their addresses from the
show-proxied-endpoints
Traefik action.
In your terminal type:
juju run traefik/0 show-proxied-endpoints
The catalogue endpoint can be visualized on your browser and
it will list the catalogue of applications offered by COS for robotics.
From the proxied endpoints, the catalogue URL should be similar to:
"catalogue":{"url": "http://<cos-robotics-server-ip>/cos-robotics-model-catalogue"}
Now by navigating to the catalogue URL in your browser, the catalogue of all the available application will be displayed:

Grafana login
Clicking on the Grafana application will prompt you for username and password as follows:
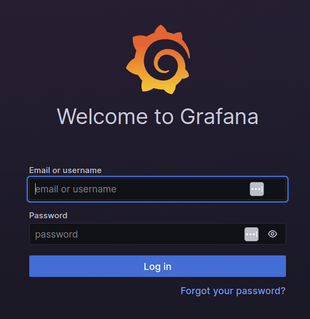
Grafana login page
The default password for Grafana is automatically generated for every installation.
To access Grafana's web interface, use the username admin,
and the password obtained from the
get-admin-password action as follows:
juju run grafana/0 get-admin-password
Next steps: device setup
Now that the server is set up, let’s see how to deploy and register a device for monitoring.
Note: The device setup is covered in a the next tutorial. You can find it at Deploy COS for robotics agent on your robot.